As we all know, Angular is one of the leading and most popular JavaScript-based open-source front-end structural frameworks in the software development industry for building robust Angular mobile and web apps. But nowadays, developers have moved further and they have started integrating NativeScript Angular to create truly native apps.
When you integrate NativeScript with any JavaScript framework, the process of mobile app development for multiple platforms becomes easy and convenient. Also, this technological mix allows developers to enhance the performance of Angular applications. This is the main reason why Angular app development companies choose Native Script instead of the Ionic hybrid approach of development.
Apart from this, if you want your Angular app to be error-free, make sure to follow certain Angular best practices and coding standards that can help you easily identify errors and sail through the bug-fixing process.
This is why Angular is considered one of the most loved and widely used front-end frameworks. So if you’re planning to implement NativeScript Angular for mobile app development, this article is for you. This post will teach you how to develop mobile apps using NativeScript and Angular. So without any further ado, let’s get started!
1. What is NativeScript?
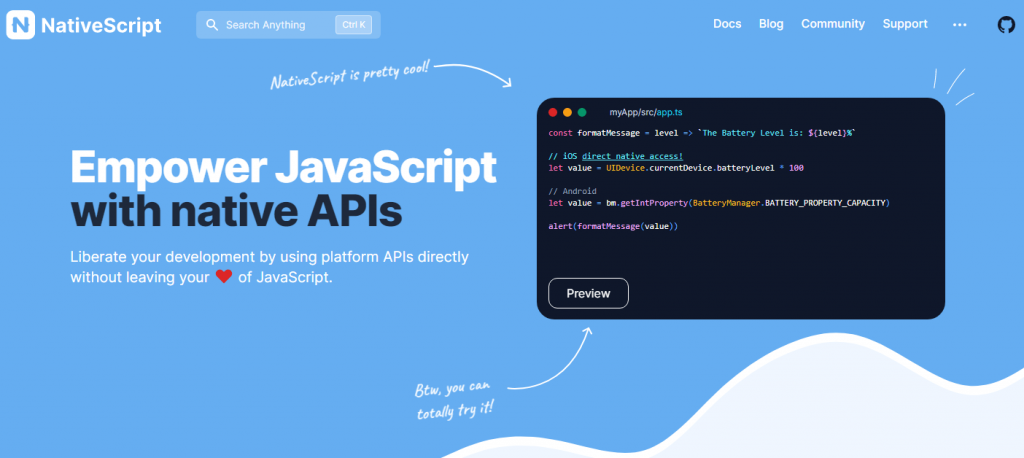
NativeScript is an open-source and free framework that allows developers to develop cross-platform native mobile applications. They can build truly native applications for Android, iOS, and Windows Universal Platform using JavaScript, HTML, CSS, and XML. NativeScript uses the native platform’s rendering engine to give a native user experience.
You’ll be surprised to know that NativeScript is considered one of the most popular choices among developers for creating different types of mobile apps with Angular. However, it is a runtime framework and not a web technology, your app won’t run as a mini-website.
1.1 Benefits of NativeScript for Mobile App Development
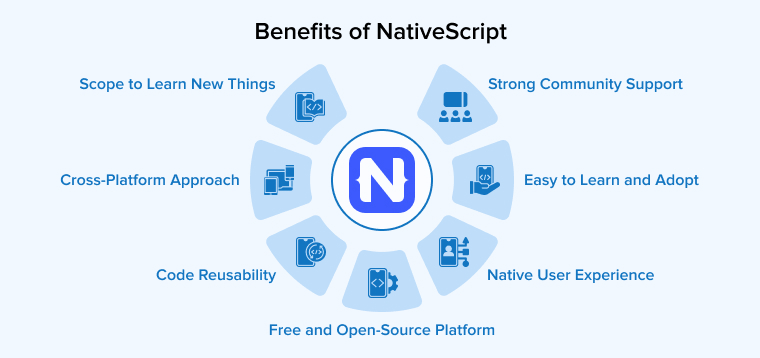
NativeScript has gained immense popularity in recent times as it comes with a variety of positive features and benefits that help developers create a native user experience across multiple platforms as well as maintain the cross-platform mobile app development approach of using the same code bases. Here are some benefits of NativeScript for mobile app development.
1. Easy to Learn and Adopt
If you are already a mobile application developer, you can easily learn NativeScript for mobile app development without any additional knowledge. If you’re a newbie you might need to invest a good amount of time in learning the basics of NativeScript but if you’re already into it then you can use your web development abilities to create native apps with Native UI markup, CSS, and JavaScript.
2. Cross-Platform Approach
While building an app using Angular Native, you only have to write one codebase to create truly native applications for both iOS and Android. If you consider this fact, you can easily tweak the written code whenever you want to implement the functionality specific to a particular platform.
3. Native User Experience
As we all know NativeScript provides a native user experience and platform-specific performance while maintaining exceptional UI attributes which appear to be visually appealing, user-friendly, and entertaining. It allows you to build native user interfaces without using WebViews and still performs native UIs. Also, NativeScript provides open customization options for various devices.
4. Free and Open-Source Platform
As we mentioned earlier, the NativeScript framework is completely free and open-source which helps software developers to build both iOS and Android applications easily and more conveniently. Moreover, it holds the Apache 2 license.
5. Scope to Learn New Things
If you’re a mobile app developer and have good knowledge of JavaScript, XML, and CSS as well as a basic understanding of Android and iOS frameworks then you may easily start working with NativeScript and build amazing mobile apps. Whenever you implement any innovative application idea, you get enough opportunity to learn certain new concepts about native frameworks and NativeScript that you might not be aware of.
6. Code Reusability
NativeScript is a type of framework that allows mobile app developers to build and deploy apps on various operating systems using a single codebase. It includes a variety of native mobile app functionalities for Android and iOS platforms. Apart from this, code sharing across several platforms using Angular, React, Vue, or any other JavaScript frameworks.
7. Strong Community Support
Lastly, NativeScript has excellent community support of NASDAQ: PRGS. They have successfully developed various software projects to date. Also, they inflate their hands to provide enterprise support for multiple important projects.
2. Creating a Mobile App with NativeScript and Angular
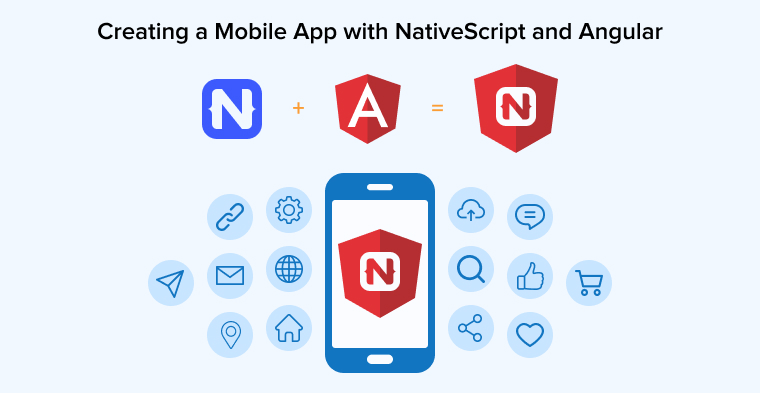
You’ll be surprised to know that NativeScript allows software developers to use around 80% of their web code to build truly native apps. If you’re still not aware of how to get started with NativeScript and how to convince your management to use NativeScript, then click here.
2.1 Getting Started with NativeScript
First things first, set up your development environment and install Node.js® and npm if they are not installed on your system. Also, you need to install NativeScript by installing Node.js and running.
$ npm install -g nativescript |
After installing NativeScript, you need to install an app development tool for each platform that you’re planning to deploy. For iOS, it’s XCode and for Android, it’s the Android SDK. If you want more detailed instructions, you can also follow the installation guide available on the NativeScript website on how to set up the necessary software for your mobile app development environment.
After setting up the development environment, you need to execute.
$ tns doctor |
2.2 Build a New Application for Android and iOS
Before you start with your coding part, make sure you’re creating a new project which can be done by executing the following from the Terminal if you are using Linux or Mac and Command Prompt if you’re using Windows.
$ tns create TodoApp $ cd TodoApp $ tns platform add android $ tns platform add ios (If you're not using a Mac, you cannot add and build for the iOS platform. |
2.3 Install All the Required Native Plugins
In every Angular web app, there are several external components for a smoother development process. If there is no DOM dependency, certain JavaScript libraries will work for a NativeScript application as it is a type of framework that does not employ a web view and doesn’t offer a DOM.
Now, include JavaScript libraries through NPM.
npm install jssha --save |
2.4 Configuring the Angular Router
src/app/app-routing.module.ts
import { NgModule } from '@angular/core'; import { Routes } from '@angular/router'; import { NativeScriptRouterModule } from 'nativescript-angular/router'; const routes: Routes = [ { path: '', redirectTo: 'todo-items-list', pathMatch: 'full' }, { path: 'todo-items-list', loadChildren: './todo-items-list/todo-items list.module#TodoListModule' }, { path: 'todo-items-detail', loadChildren: './todo-items-detail/todo-items-detail.module#TodoDetailModule' } ]; @NgModule({ imports: [NativeScriptRouterModule.forRoot(routes)], exports: [NativeScriptRouterModule], }) export class AppRoutingModule { } |
2.5 Create ToDoListModule Feature Module
src/app/todo-items-list/todo-items-list.module.ts
import { NgModule, NO_ERRORS_SCHEMA} from '@angular/core'; import { NativeScriptCommonModule } from 'nativescript-angular/common'; import { NativeScriptUIListViewModule } from 'nativescript-ui-listview/angular'; import { TodoListRoutingModule } from './todo-items-list-routing.module'; import { TodoListComponent } from './todo-items-list.component'; import { TodoService } from '../services/todo.service'; @NgModule({ imports: [ NativeScriptCommonModule, TodoListRoutingModule], NativeScriptUIListViewModule ], declarations: [TodoListComponent], schemas: [NO_ERRORS_SCHEMA], providers: [TodoService] }) export class TodoListModule { } |
2.6 Configure the Feature Module’s Routes
src/app/todo-items-list/todo-items-list-routing.module.ts
import { NgModule } from '@angular/core'; import { Routes } from '@angular/router'; import { NativeScriptRouterModule } from 'nativescript-angular/router'; import { TodoListComponent } from './todo-items-list.component'; const routes: Routes = [ { path: '', component: 'TodoListComponent' } ]; @NgModule({ imports: [NativeScriptRouterModule.forRoot(routes)], exports: [NativeScriptRouterModule] }) export class TodoListRoutingModule { } |
2.7 Creating the ToDoList Component
src/app/todo-items-list/todo-items-list.component.ts
import { Component, OnInit, ViewChild } from '@angular/core'; import { RouterExtensions } from 'nativescript-angular/router'; import { ObservableArray } from 'tns-core-modules/data/observable-array'; import { DataItem } from './dataItem'; import * as app from 'application'; import { RadSideDrawer } from 'nativescript-ui-sidedrawer'; import { TodoService } from '../services/todo.service'; import { ListViewEventData, RadListView } from 'nativescript-ui-listview'; import { RadListViewComponent } from 'nativescript-ui-listview/angular'; import { View } from 'tns-core-modules/ui/core/view'; import * as dialogs from 'ui/dialogs'; @Component({ selector: 'todo-items-list', moduleId: module.id, templateUrl: './todo-items-list.component.html', styleUrls: ['todo-items-list.component.css'] }) export class TodoListComponent implements OnInit { private _datalistItems: ObservableArray<DataItem>; public data: DataItem[] = []; @ViewChild('myListView') listViewComponent: RadListViewComponent; constructor( private _routerExtensions: RouterExtensions , private todoService: TodoService ) { } get datalistItems(): ObservableArray<DataItem> { return this._datalistItems; } ngOnInit(): void { this.loadTodoList(); } loadTodoList() { this.todoService.fetch().then((res) => { this._datalistItems = new ObservableArray(res); }); } onDrawerButtonTap(): void { const sideDrawer = <RadSideDrawer>app.getRootView(); sideDrawer.showDrawer(); } create(): void { this._routerExtensions.navigate(['/todo-items-detail'], { animated: true, transition: { name:'slide', duration: 500, curve:'ease' } }); } public onCellSwiping(args :ListViewEventData) { var swipeLimits = args.data.swipeLimits; var currentItemView = args.object; var currentView; if (args.data.x > 500) { console.log('Notify perform left action'); } else if (args.data.x < -500) { console.log('Notify perform right action'); } } public onSwipeCellStarted(args :ListViewEventData) { var swipeLimits = args.data.swipeLimits; var swipeView = args['object']; var leftItem = swipeView.getViewById<View>('edit-view'); var rightItem = swipeView.getViewById<View>('delete-view'); swipeLimits.left = leftItem.getMeasuredWidth(); swipeLimits.right = rightItem.getMeasuredWidth(); swipeLimits.threshold = leftItem.getMeasuredWidth() / 2; } public onLeftSwipeClick(args :ListViewEventData) { var id = args.object.bindingContext.id; this.listViewComponent.listView.notifySwipeToExecuteFinished(); this._routerExtensions.navigate(['/todo-items-detail'], { queryParams:{id: id }, animated: true, transition: { name:'slide', duration: 500, curve:'ease' } }); } public onRightSwipeClick(args) { var id = args.object.bindingContext.id; dialogs.confirm({ title: 'Please Confirm Delete', message: 'Are you sure you want to delete this todo-item?', okButtonText: 'Ok', cancelButtonText: 'Cancel' }).then(result => { if (result) { this.todoService.deleteRecord(id).then((res) => { if (res.success) { this._datalistItems.splice(this._datalistItems.indexOf(args.object.bindingContext), 1); } }); } }); } } |
2.8 Running and Debugging the App
To run the application on your preferred device, you need to execute.
$ tns run |
And after this the platform where you’re willing to deploy. Here for instance we have chosen Android.
$ tns run android |
This will automatically install the Android platform if it is not already installed in your system and then runs the native mobile app on your Android device once it’s installed.
Once your app starts running, you should now execute the tns livesync android. This will refresh your application automatically whenever you make changes to the source files. NativeScript allows software developers to debug their applications using Chrome dev tools. You can do this in two different ways:
You can open a new terminal window if your application is already running and execute.
$ tns debug android --start |
And let’s say if none of your apps is running, use
$ tns debug android --debug-brk |
3. Key Takeaway
So that’s it for the post. In closing, we would like to mention that the benefits of NativeScript for native mobile app development are unlimited. After reading this post now you must be aware of how to build a mobile app with NativeScript and Angular. We hope you find this post helpful. It would be great for us if you shared this post on Facebook or Twitter to reach more audiences. Feel free to ask your queries in the comment section given below and we will get back to you soon.
Further Reading on:
A Detailed Note on Angular Resolver
Directives in Angular: Types, Uses and Examples



Comments
Leave a message...